Notebook
duration: 15 - 30 minutes
age: from 7 years
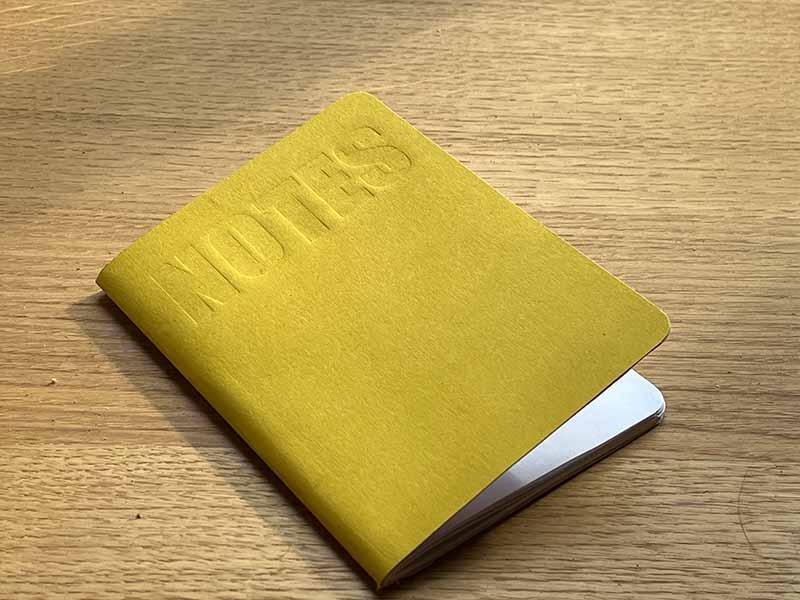
Make your very own notebook.
tools
- Press
- Ruler
- Hobby knife
- Cutting mat
- Pencil
- Scissors
- Thick needle
- Awl
- Corner-cutter (optional)
- Laser Cutter or 3D printer
materials
- 5 sheets of paper
- Sturdy thread
- Cardstock
- Glue (gluestick or spray glue)
downloads
step 1 - Cut and fold the paper
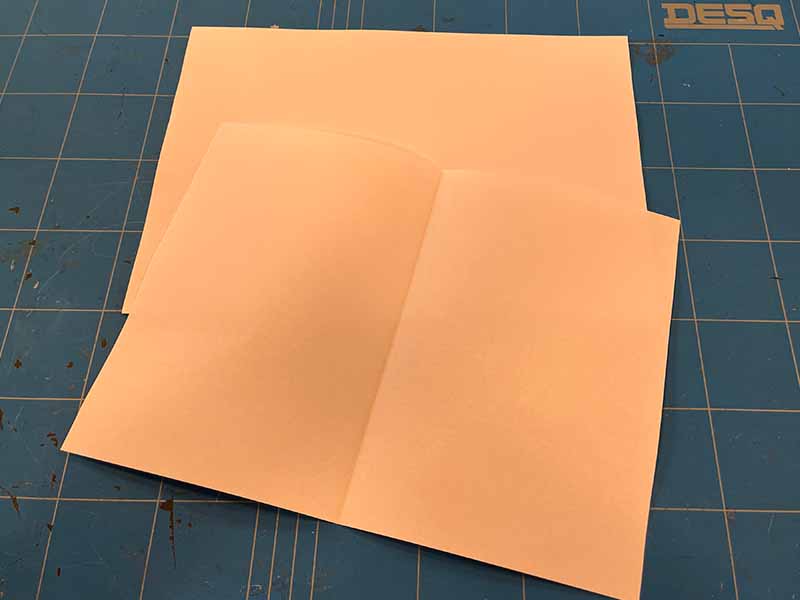
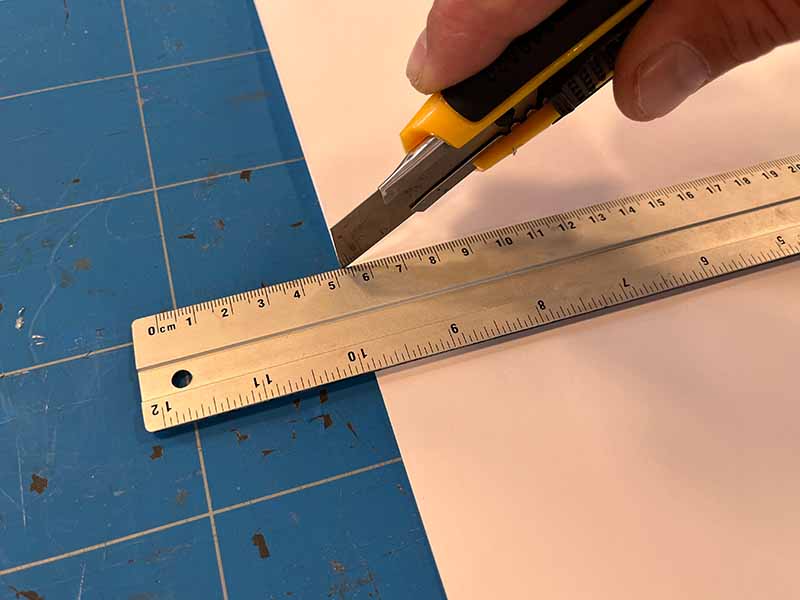
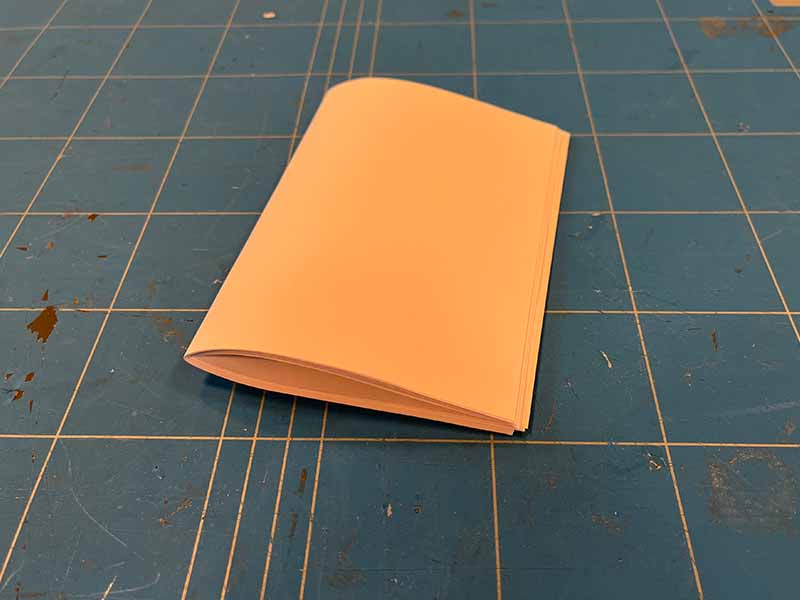
- Fold one sheet of paper in half along the long side. Then open it again.
- Put a ruler on the fold line.
- Don't try to cut through everything in one go. Use several light cuts instead.
- Carefully cut along the fold with the hobby knife.
- Put all the half-sheets in a neat pile and fold the pile in half.
step 2 - Mark and punch the holes
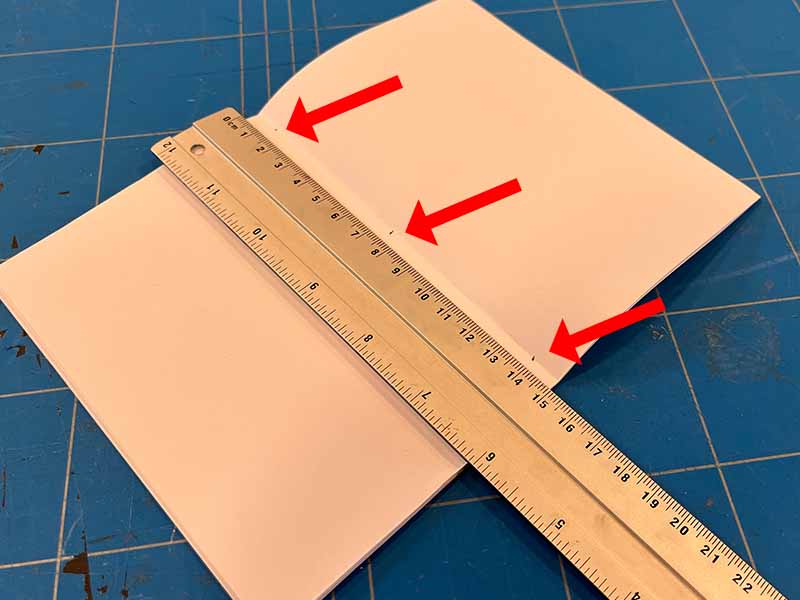
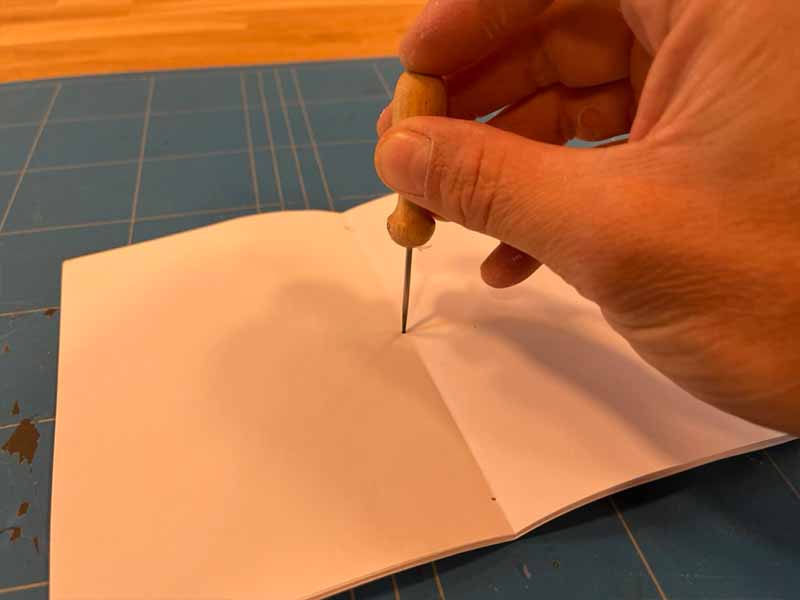
- Find the fold line.
- Make a mark 1 cm from the top, 1 cm from the bottom, and one in the middle.
- Use the awl to make a hole at each mark.
- Make sure the holes go through all the sheets.
step 3 - Sew the pages
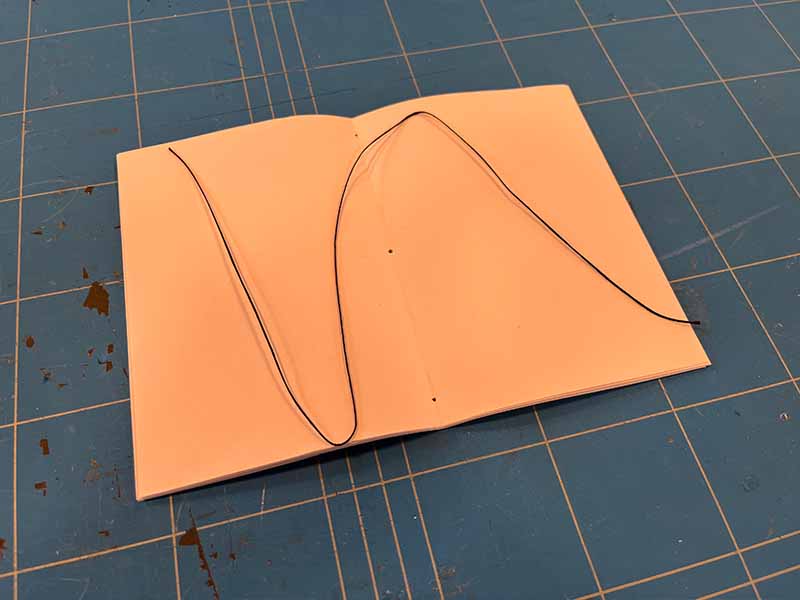
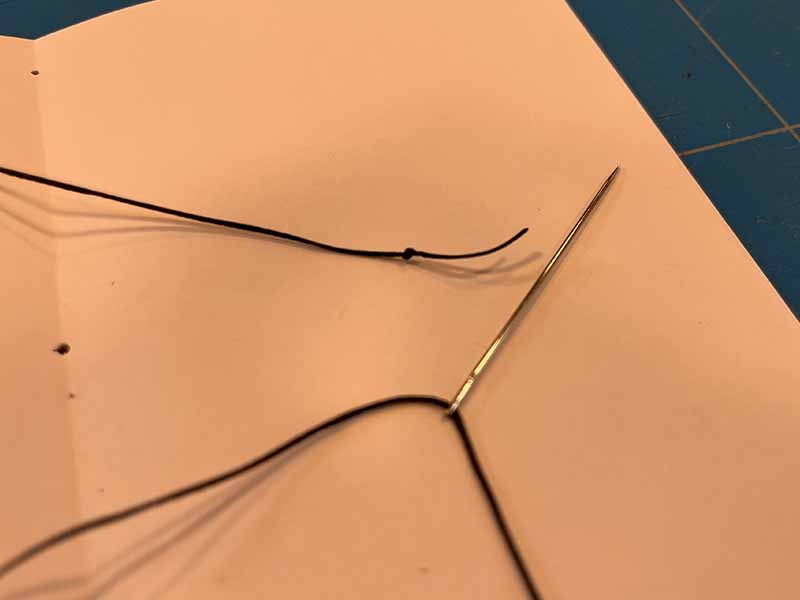
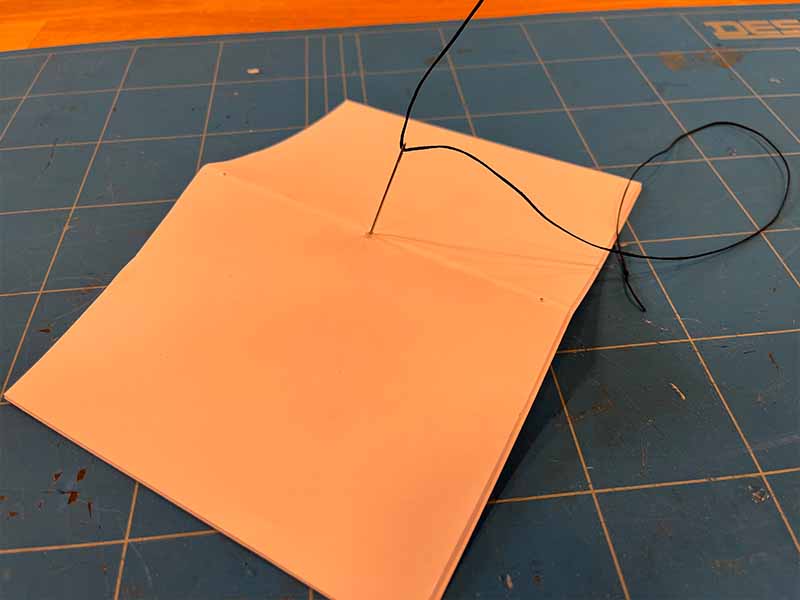
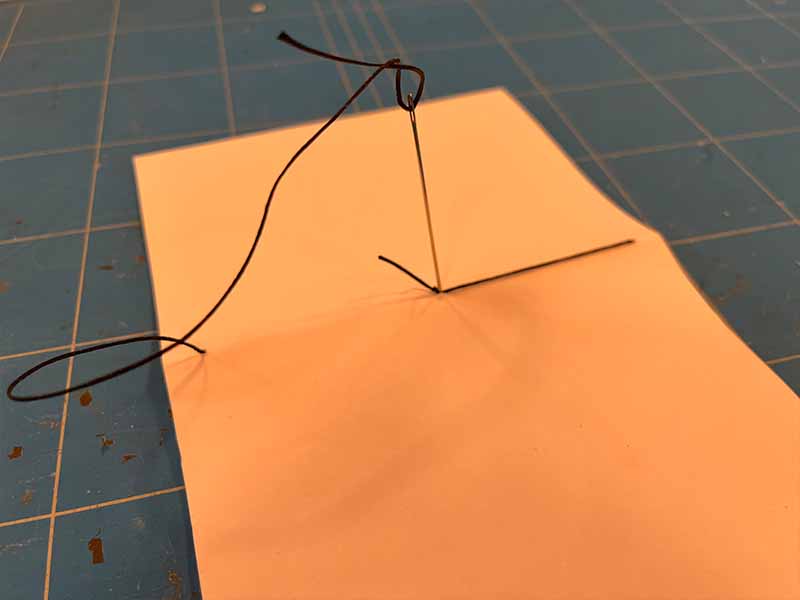
- Cut a piece of thread about 3 times as long as your notebook.
- Tie a knot at one end and put the needle on the other end.
- Start at the middle hole on the outside of the notebook.
- Pull the thread through until the knot stops it.
- Push the needle through one of the outside holes from the inside.
- Go back through the middle hole.
- Repeat on the other side.
step 4 - Finish the sewing
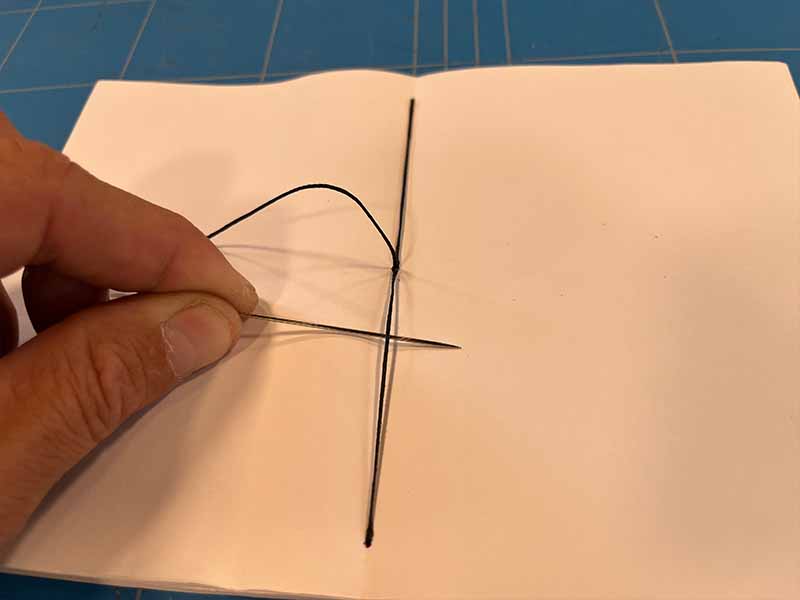
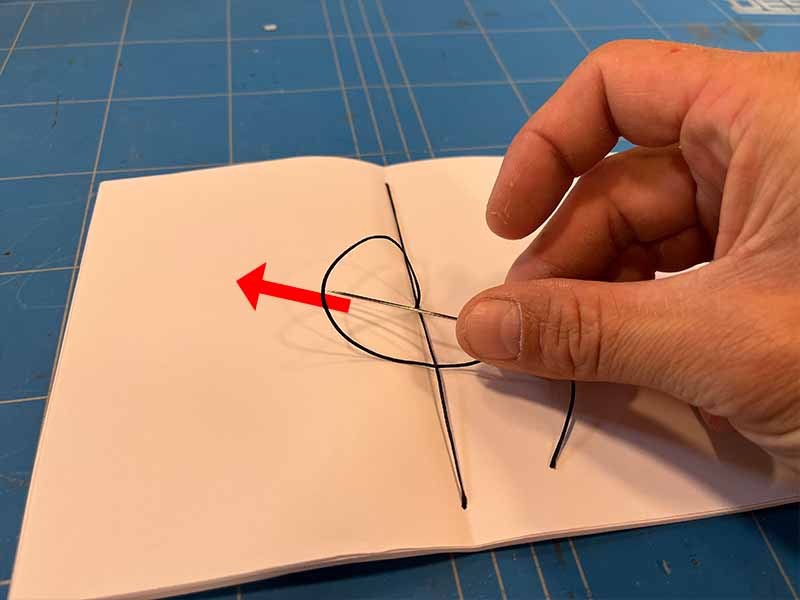
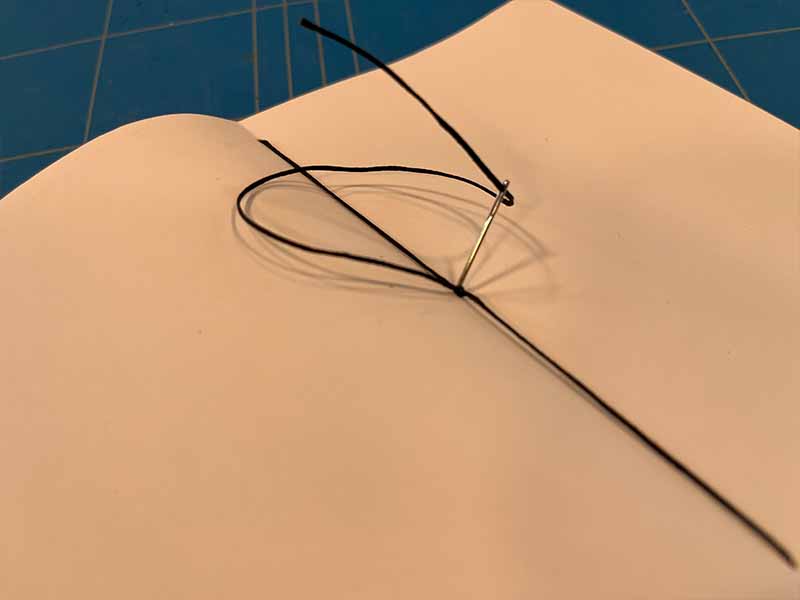
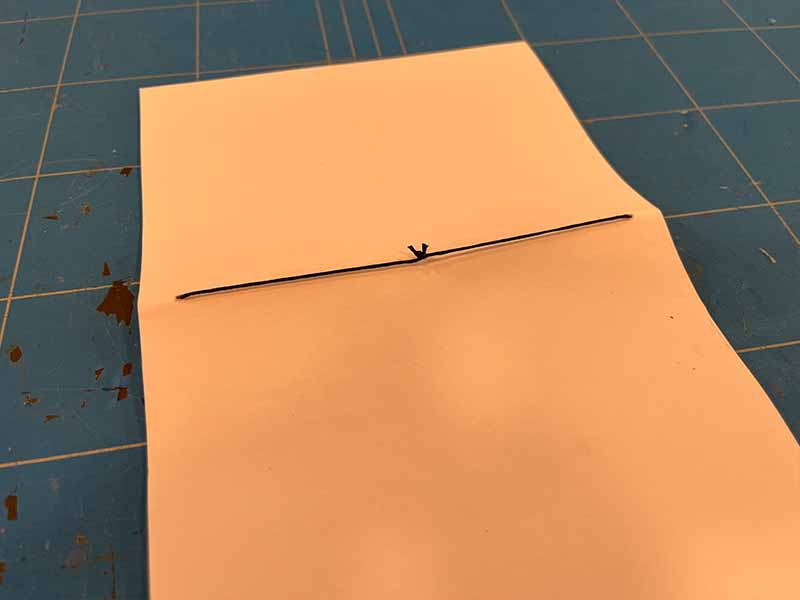
- The needle should now come out through the middle hole on the inside.
- Push the needle under one of the stitches and tie a knot.
- Push the needle through the middle hole one last time.
- Pull the knot to the outside of the notebook.
- Cut off the extra thread with the scissors.
step 5 - Make the cover
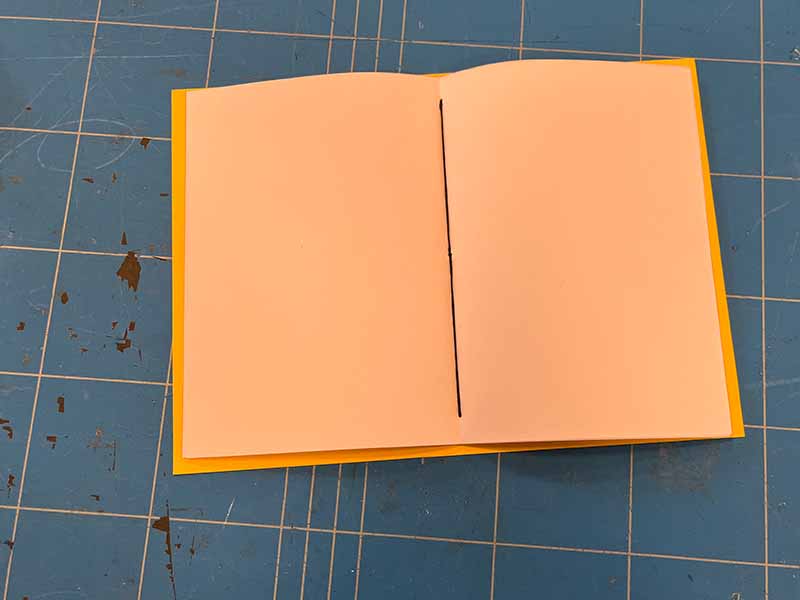
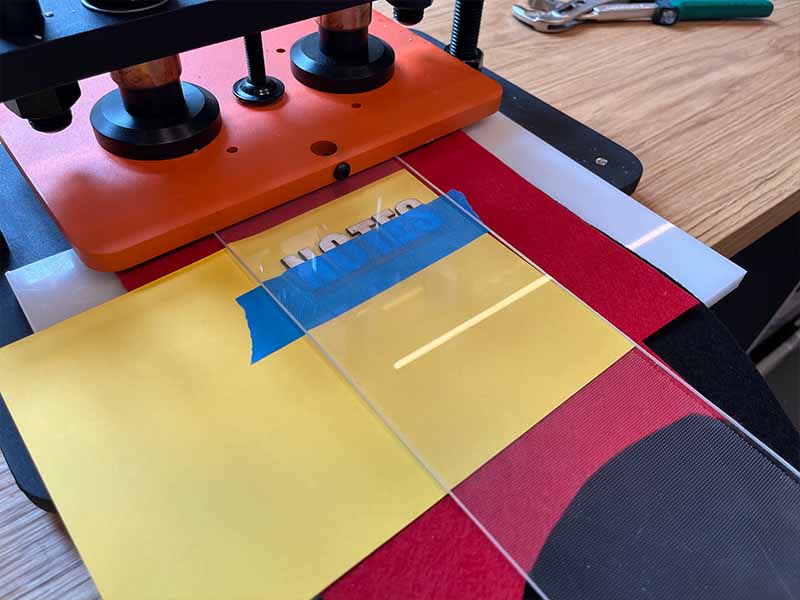
- Cut a piece of cardstock slightly bigger than your notebook.
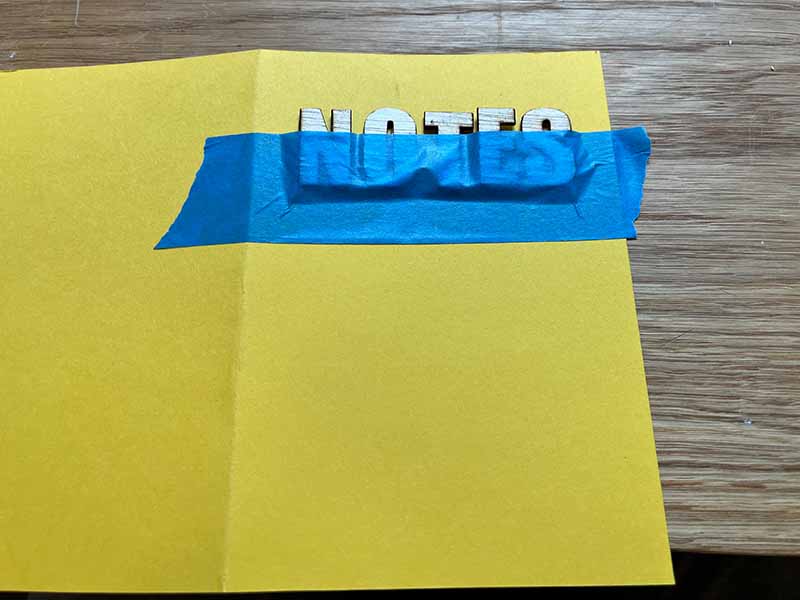
- Use the laser cutter or 3D printer to make letters for your cover.
- Make sure the letters are on the correct side of the cover!
- Put the letters on the cover and hold them in place with low-tack tape.
- Put one or two pieces of felt underneath the cover.
- Put a smooth, strong piece of material on top.
- Put everything into the press and press it.
- Take it out and check your letters. They should be pressed into the cardstock.
step 6 - Glue on the cover

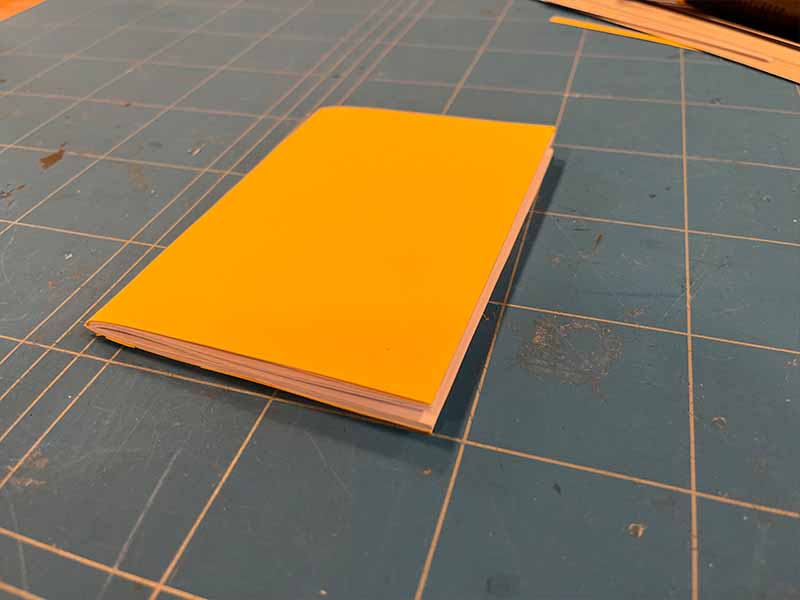
- Put glue on the outside pages of the notebook.
- Stick the cover onto the notebook.
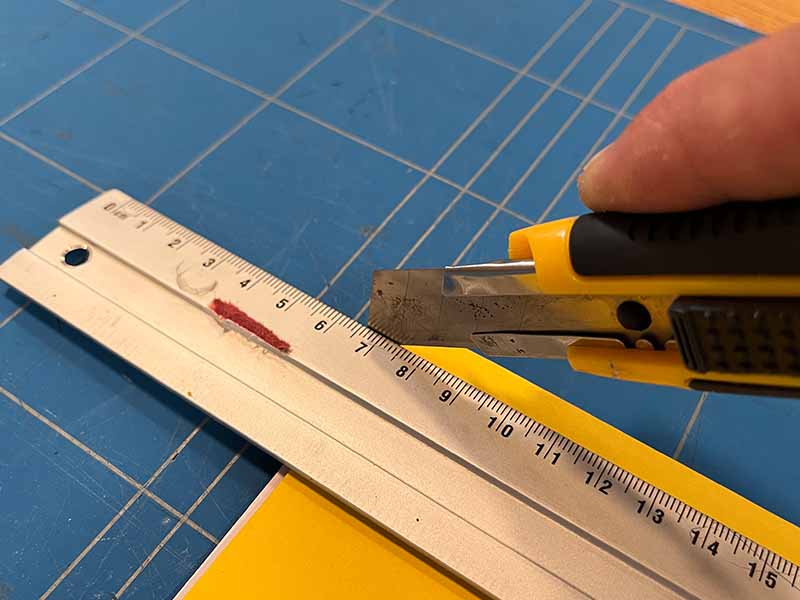
- Put the ruler on the edge of the notebook.
- Carefully trim the sides with the hobby knife.
- Use several light cuts instead of one hard cut.
- Don't cut too much off the top or bottom. You don't want to cut the thread!
step 7 - Round the corners
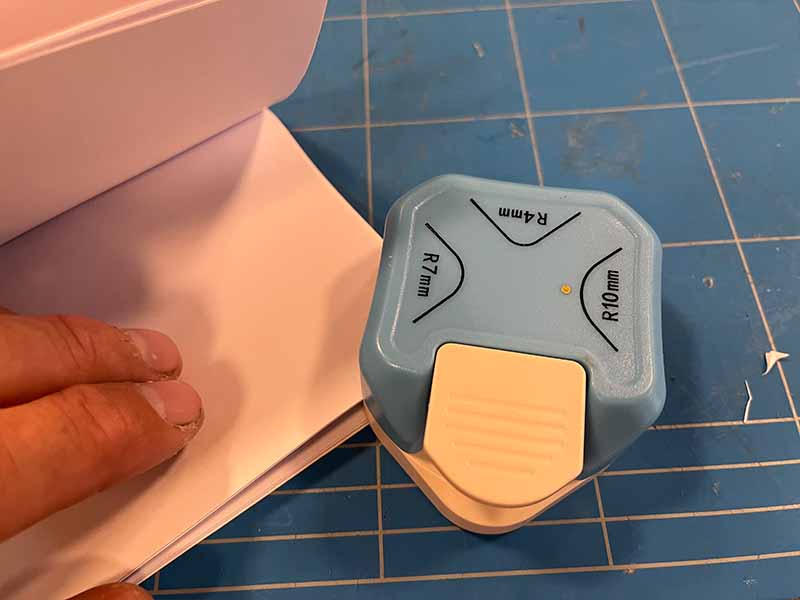
- Use the corner cutter to round the corners.
- You can only cut about 3 pages at a time.
step 8 - Finished!
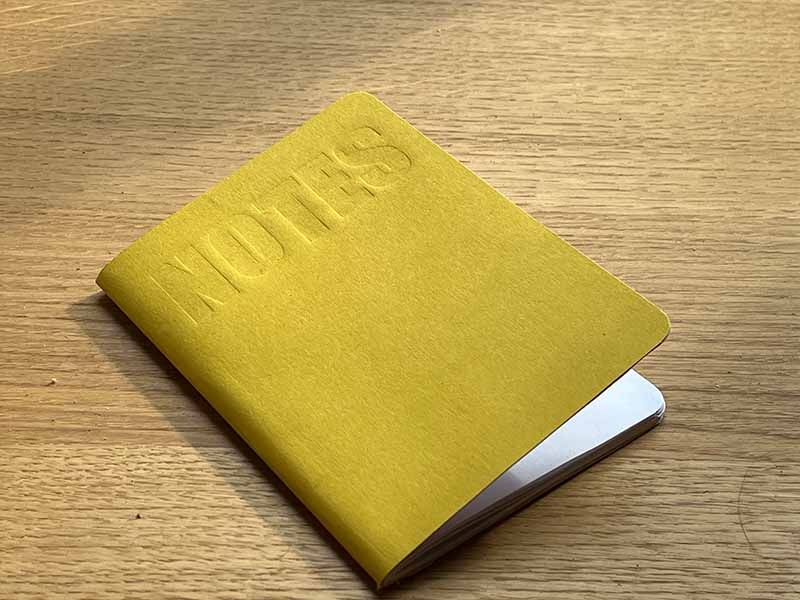
- Your notebook is ready! 🎉